With our step-by-step guide, setting up your iPhone with Skynet Solutions Email Hosted Calendar is quick and easy. Follow the steps below to begin.
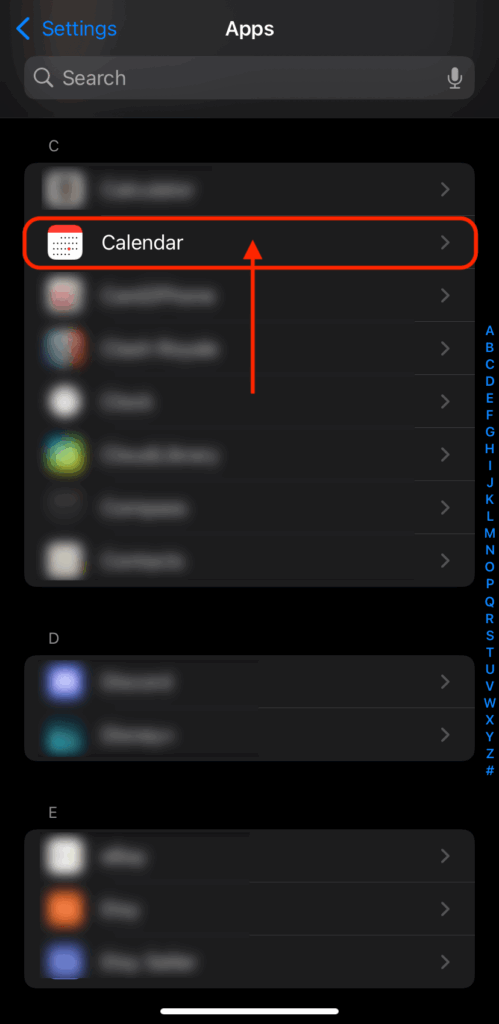
Find and open your iPhone’s Settings and then tap the Apps section. Typically the Apps section is at the very bottom.
Settings > Apps
Then find/search for Calendar and select it
Settings > Apps > Calendar
Proceed to next step below
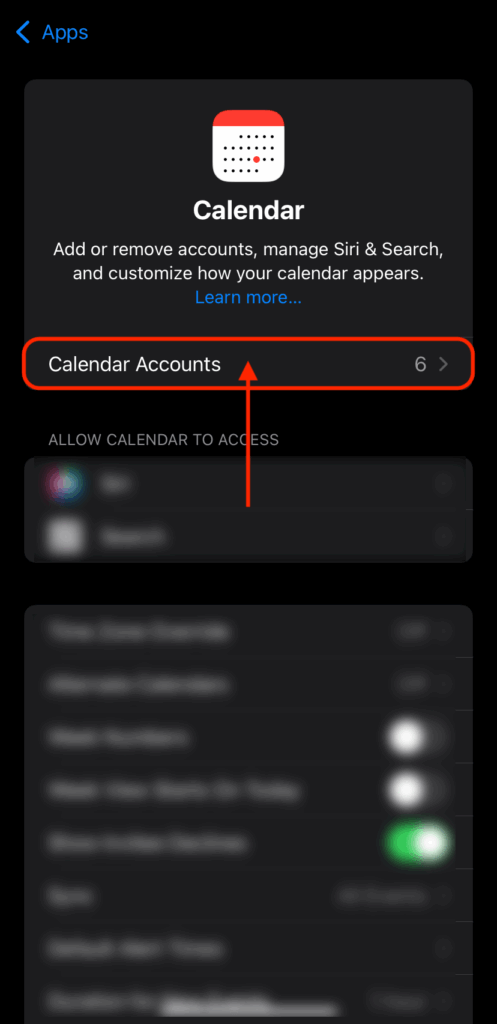
At the top, tap the Calendar Accounts section.
Settings > Apps > Calendar > Calendar Accounts
Proceed to next step below
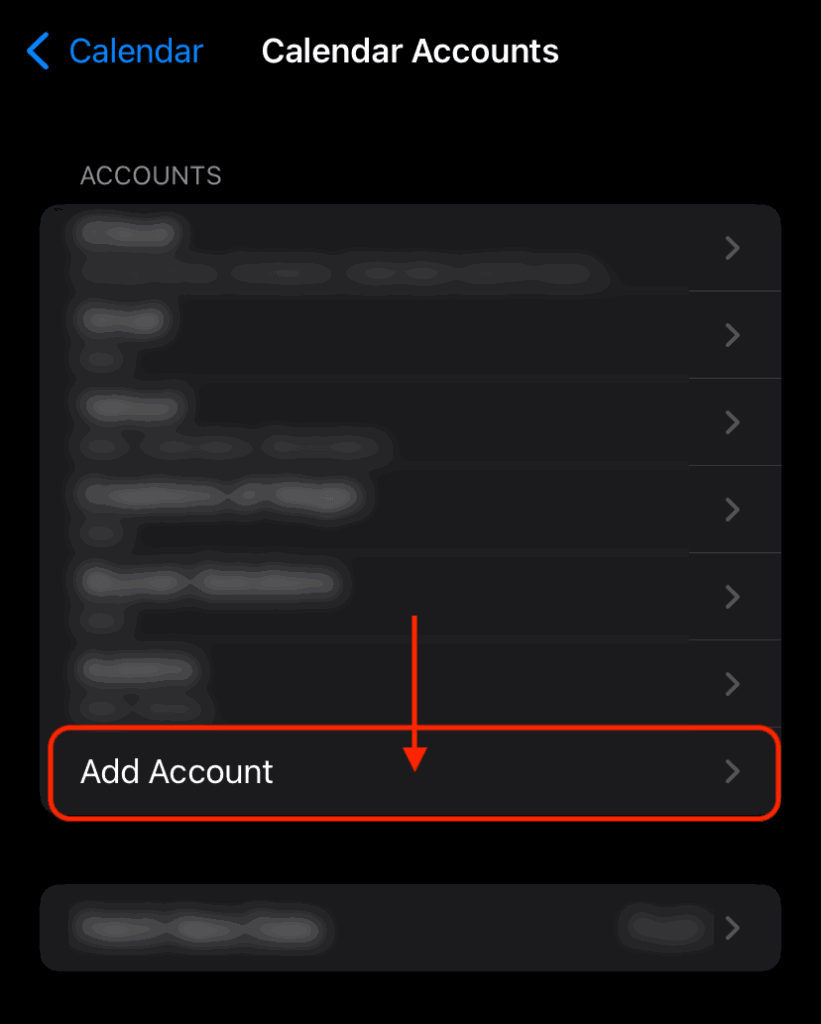
Near the bottom, tap the Add Accounts section.
Settings > Apps > Calendar > Calendar Accounts > Add Account
Proceed to next step below
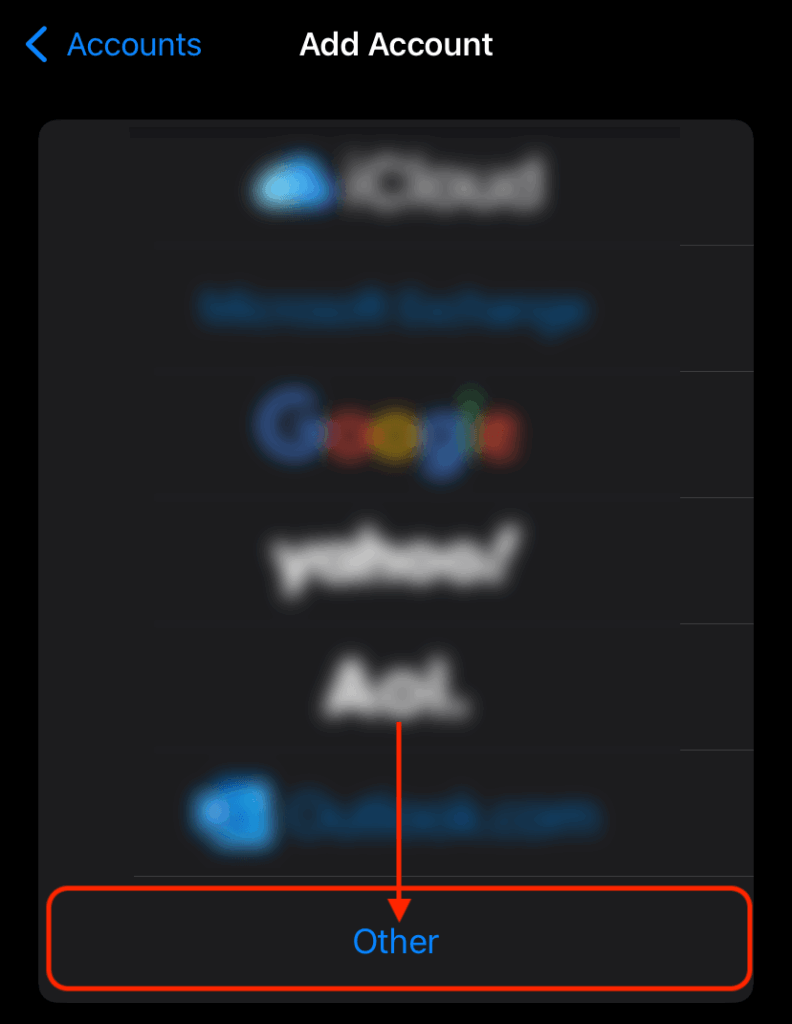
At the bottom, tap Other as your selection.
Settings > Apps > Calendar > Calendar Accounts > Add Account > Other
Proceed to next step below
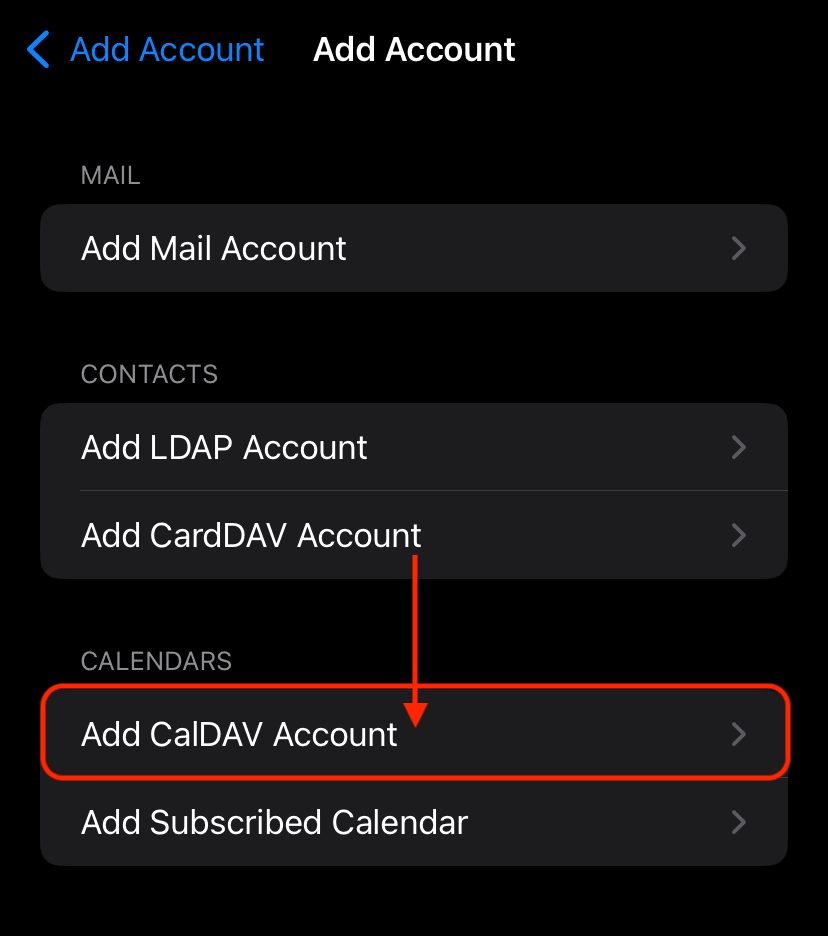
Tap Add CalDAV Account as your selection.
Settings > Apps > Calendar > Calendar Accounts > Add Account > Other > Add CalDAV Account
Proceed to next step below
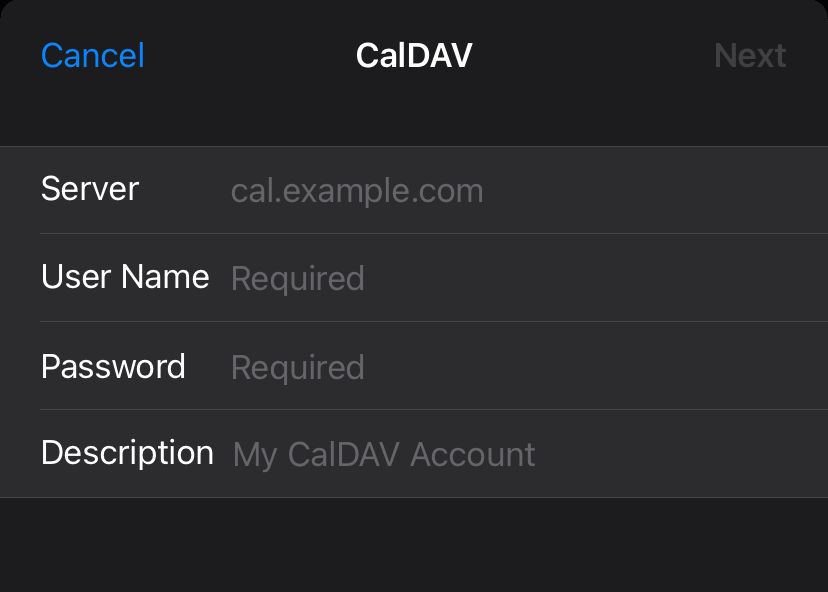
You will need to complete the information for the four inputs.
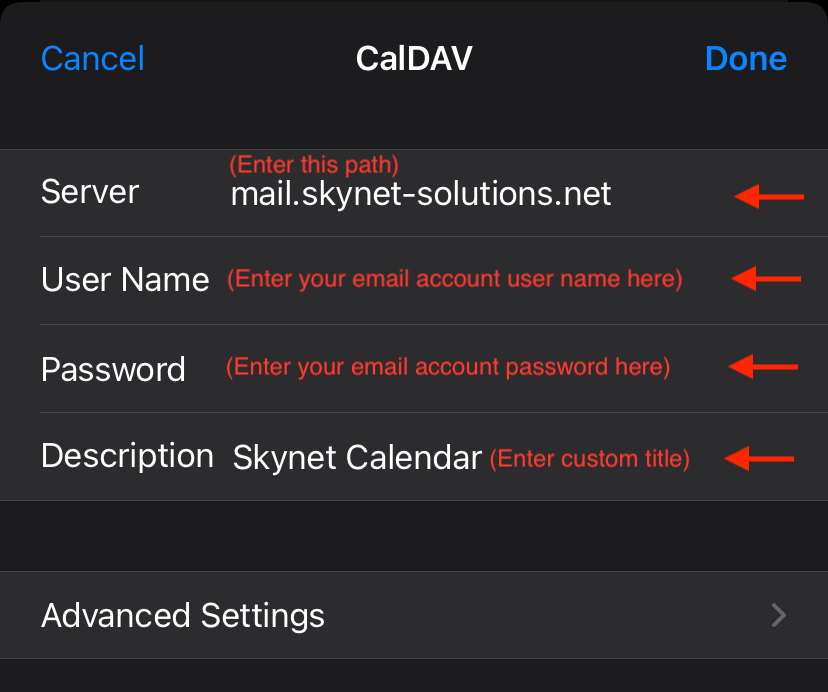
Server = mail.skynet-solutions.net
User Name = Your email account user name
Password = Your email account password
Description = Enter custom title for calendar
Once these are filled in tap the Done link in the top right.
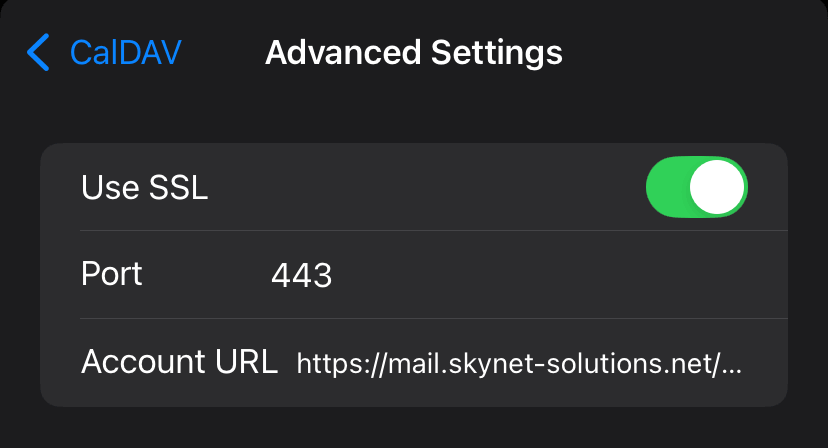
The advanced settings were configured automatically. If needed, you can review the automatically populated details here.