
Using SmarterMail Team Workspaces

One of the many important and useful tools included with our Enterprise class Email Software by SmarterTools is collaboration via video chat with their Team Workspaces. This feature is easily initiated and will not require any user to download any software or app. The only requirement is an internet connection and browser. These qualities alone make it a viable option for those looking for an easy solution for video chat, screen sharing, and file sharing. A quick and hassle free option for completing these tasks is an available feature for our hosting clients. Let’s get into the details on setting up your meeting spaces.
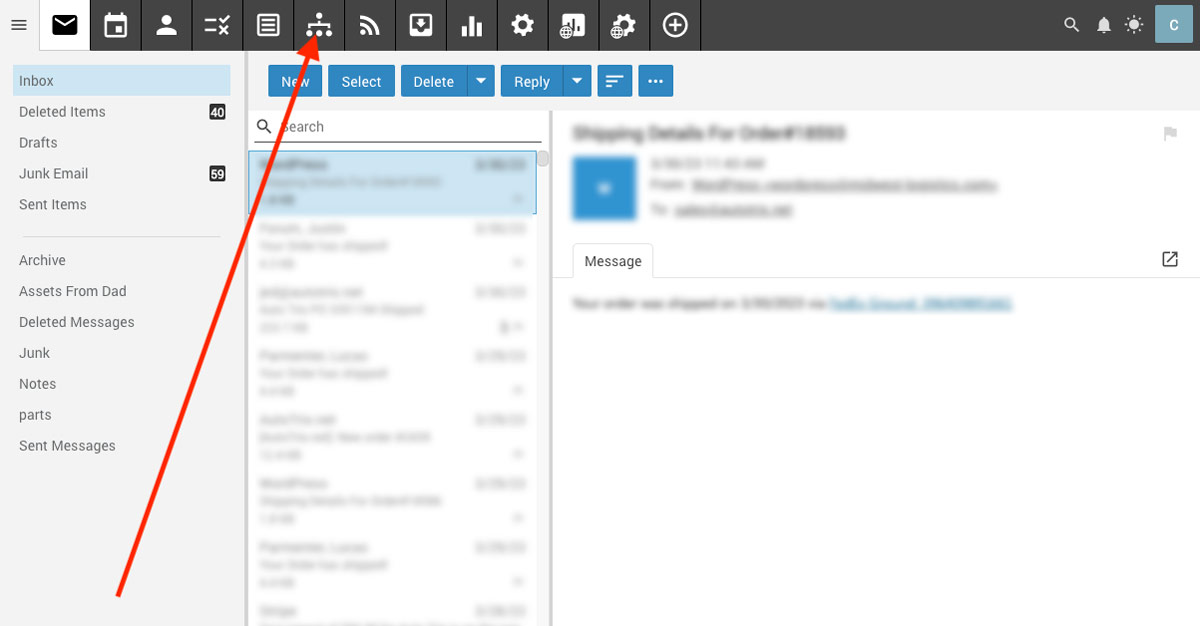
To begin the process you will need to log into your Skynet Solutions email account. Then click the Team Workspaces tab located on the top navigation area. See image below – click to enlarge.
Unless you have already been using this feature the page will be mostly blank. Click the “New” button at the top of the page. See image below – click to enlarge.

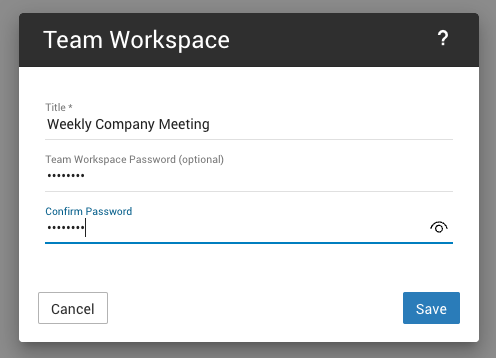
A pop-up window will then allow you to begin filling out the meeting details. All of your created meetings will populate the Workspace page area so that you can return to any of them at a later date. I will have a screenshot of what this would look like at the end of the article. Set a meeting title and insert a password. Setting a meeting password is optional and this option can be changed after the meeting has been set up. See example image below – click to enlarge.
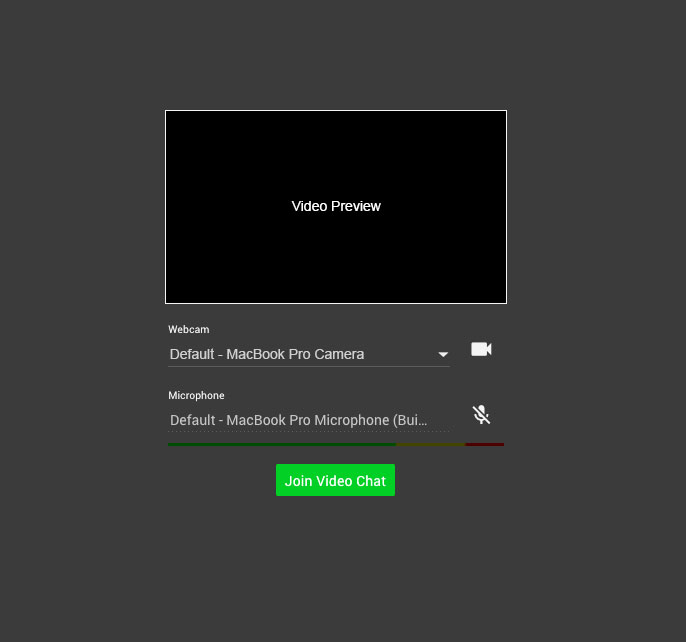
Once the meeting area has been set up it will prompt you to begin via a pop-up. The next window will allow you to set and test your camera and microphone. Once you have completed setting those items click the “Join Video Chat” to start the meeting space. See example image below – click to enlarge.
The meeting space screen should be somewhat familiar to anyone who has used a video conferencing software but I will go through all of the important items below. Please refer to the numbered hands that I will reference from the example image below – click to enlarge.

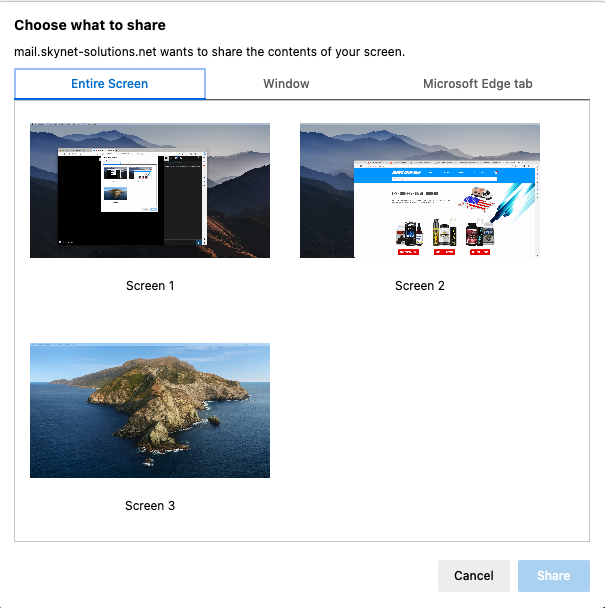
At the top center of the screen (1) are your basic controls. These are, from left to right, for stopping your camera, muting your microphone, screen sharing and ending the meeting session. The screen sharing button will bring up a window that will allow you to choose what to share. You can share specific windows, applications or screens. See example image below – click to enlarge.
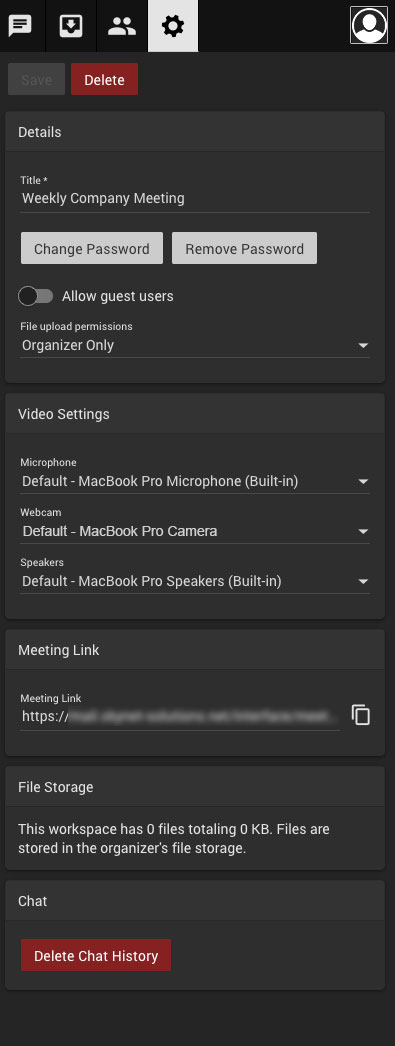
At the top right of the screen (2) you will notice four more tabs. These are, from left to right, for accessing the chat, accessing file storage, viewing attendees, and your meeting settings. Each of these tabs will re-populate the right side vertical column. The file storage icon will display all of the items that have been uploaded for this meeting as well as all of the items that were uploaded into the chat (3). The attendees tab will allow you to view and control your meeting users. You can also quickly grab the meeting link from the top of this section. The settings tab will provide basic settings for the meeting as well as settings for your device. You can also get the meeting link from this section. See settings example image below – click to enlarge.
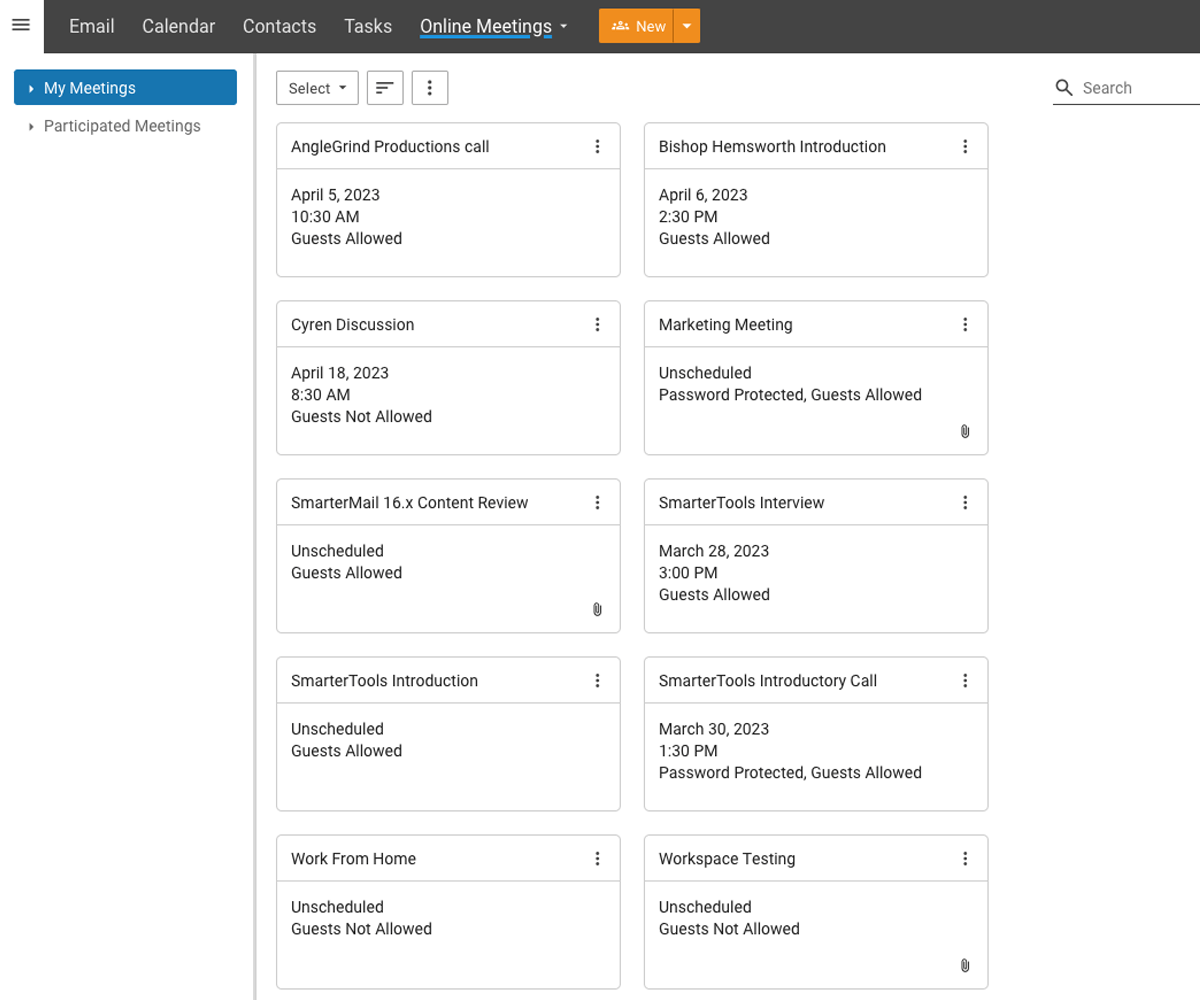
All meeting spaces will be displayed much like is seen the screen shot below. They can be organized in the left column. You can delete or copy the meeting link via the triple dots located in the top right of each meeting space block.
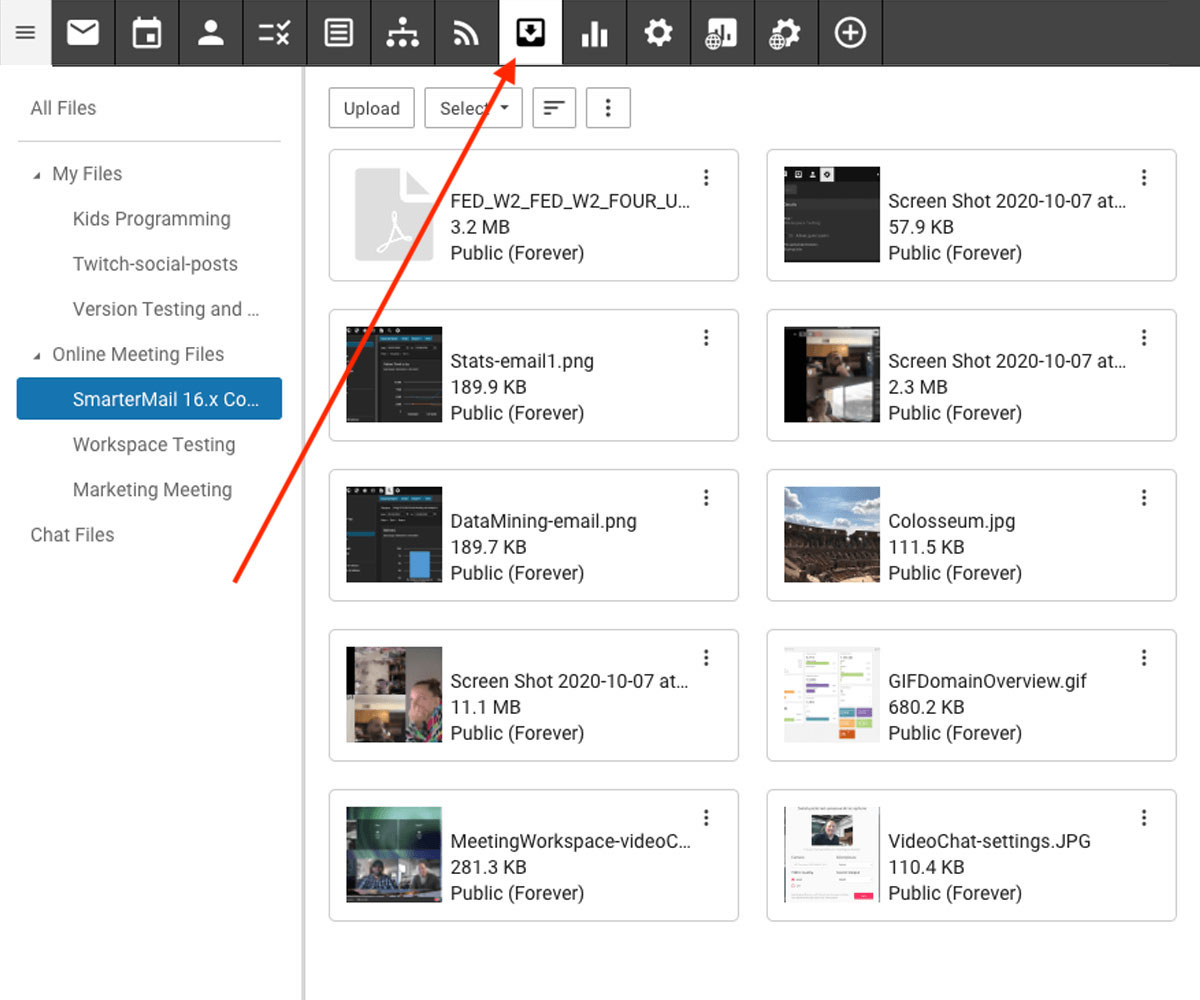
Files can be added to specific meeting folders before, during or after the meeting for access from team members. You can do this by clicking the File Storage tab from the top navigation. See example image below – click to enlarge.
Those are the basics for using your built in SmarterMail tools included with your Skynet Solutions Hosting account. I hope you found this article helpful.